If you wish to create a cPanel account, please follow the instructions below:
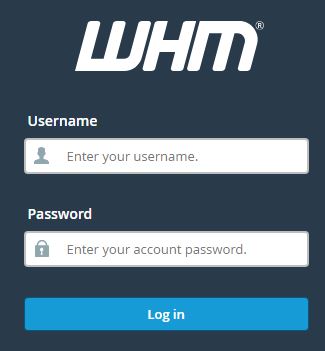
Step 1. Log in to WHM.
Step 2. Click on the ‘Account Functions’ icon.

Step 3. Click on ‘ Create a New Account’ icon.

Step 4. Enter the domain name that will be used for this account.
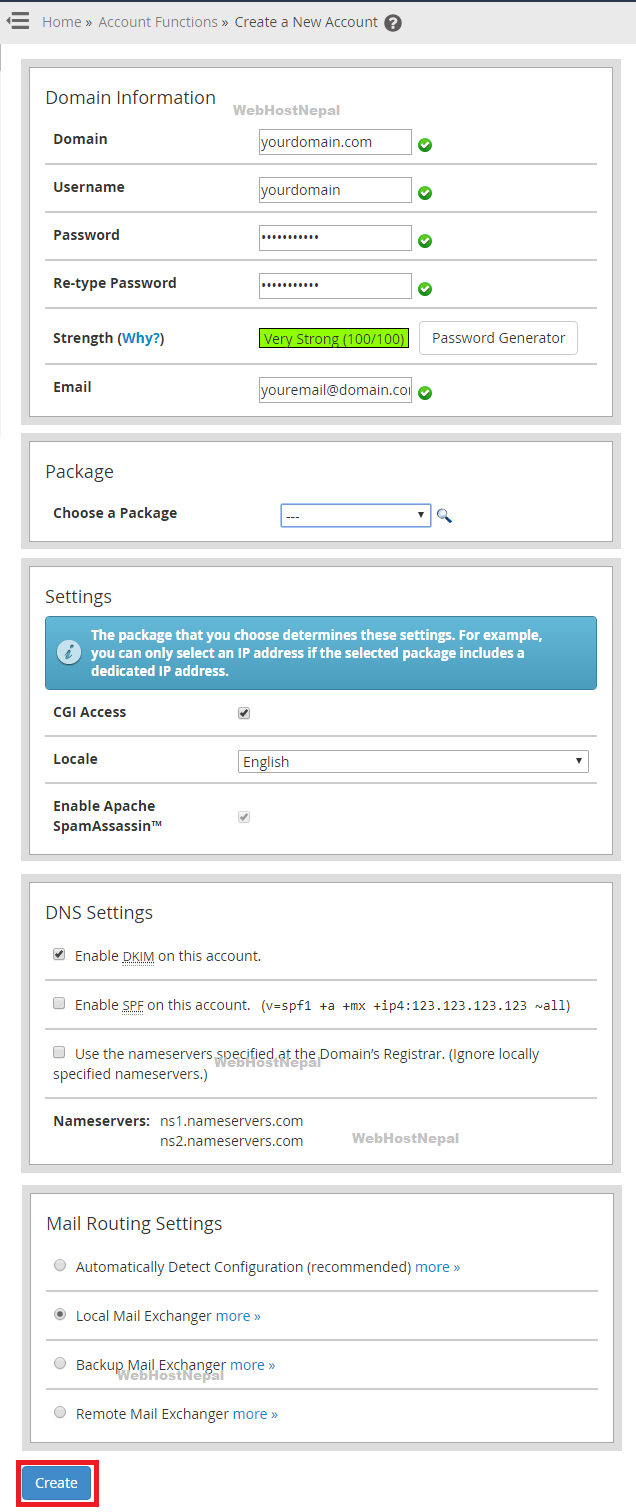
Step 5. The username will be created automatically but you can edit it anytime.
Step 6. Enter the password for this account and make sure it is a strong password. You may also use the Password Generator button and the system will provide you a unique password.
Step 7. Type in the email address that will be associated with the account.
Step 8. You can select a package to expedite the process.
Step 9. Choose on the cPanel settings.
* CGI (Common Gateway Interface) Access – allows the hosting account to run CGI scripts (forums, visitor counter, etc.).
* Locale – default language that will be used.
Step 10. You may configure the DNS settings of the cPanel account.
* DKIM (DomainKeys Identified Mail) – enabling this DNS will allow account user to use DKIM for email authentication purposes.
* SPF (Sender Policy Framework) – highly recommended to avoid emails being spoofed.
* Use the nameservers specified at the Domain’s Registrar – automatically copies the nameservers that are set (from the domain registrar) for the domain names added in the account.
Step 11. Choose on the default Mail Routing Settings for the cPanel account. (If you click on more link, you will see a brief explanation of the option.
* Local Mail Exchanger
Step 12. Click ‘Create’ button to save the changes.
The hosting account has been set up in the server and a cPanel account is also set up for it.
Note: This article is intended for Dedicated Server package, VPS and Reseller only.